I Was Featured On...


Saturday, June 29, 2013

Getting That Deconstructed Look

I was browsing through my copy of the Restoration Hardware catalog recently.  So much eye candy, and most of it way beyond my styling budget.  I closed the dream book, hoping that I could make something beautiful AND beautifully inexpensive.

And that's when it happened! I dug out this little chair that I'd had since last year to try my little experiment. 


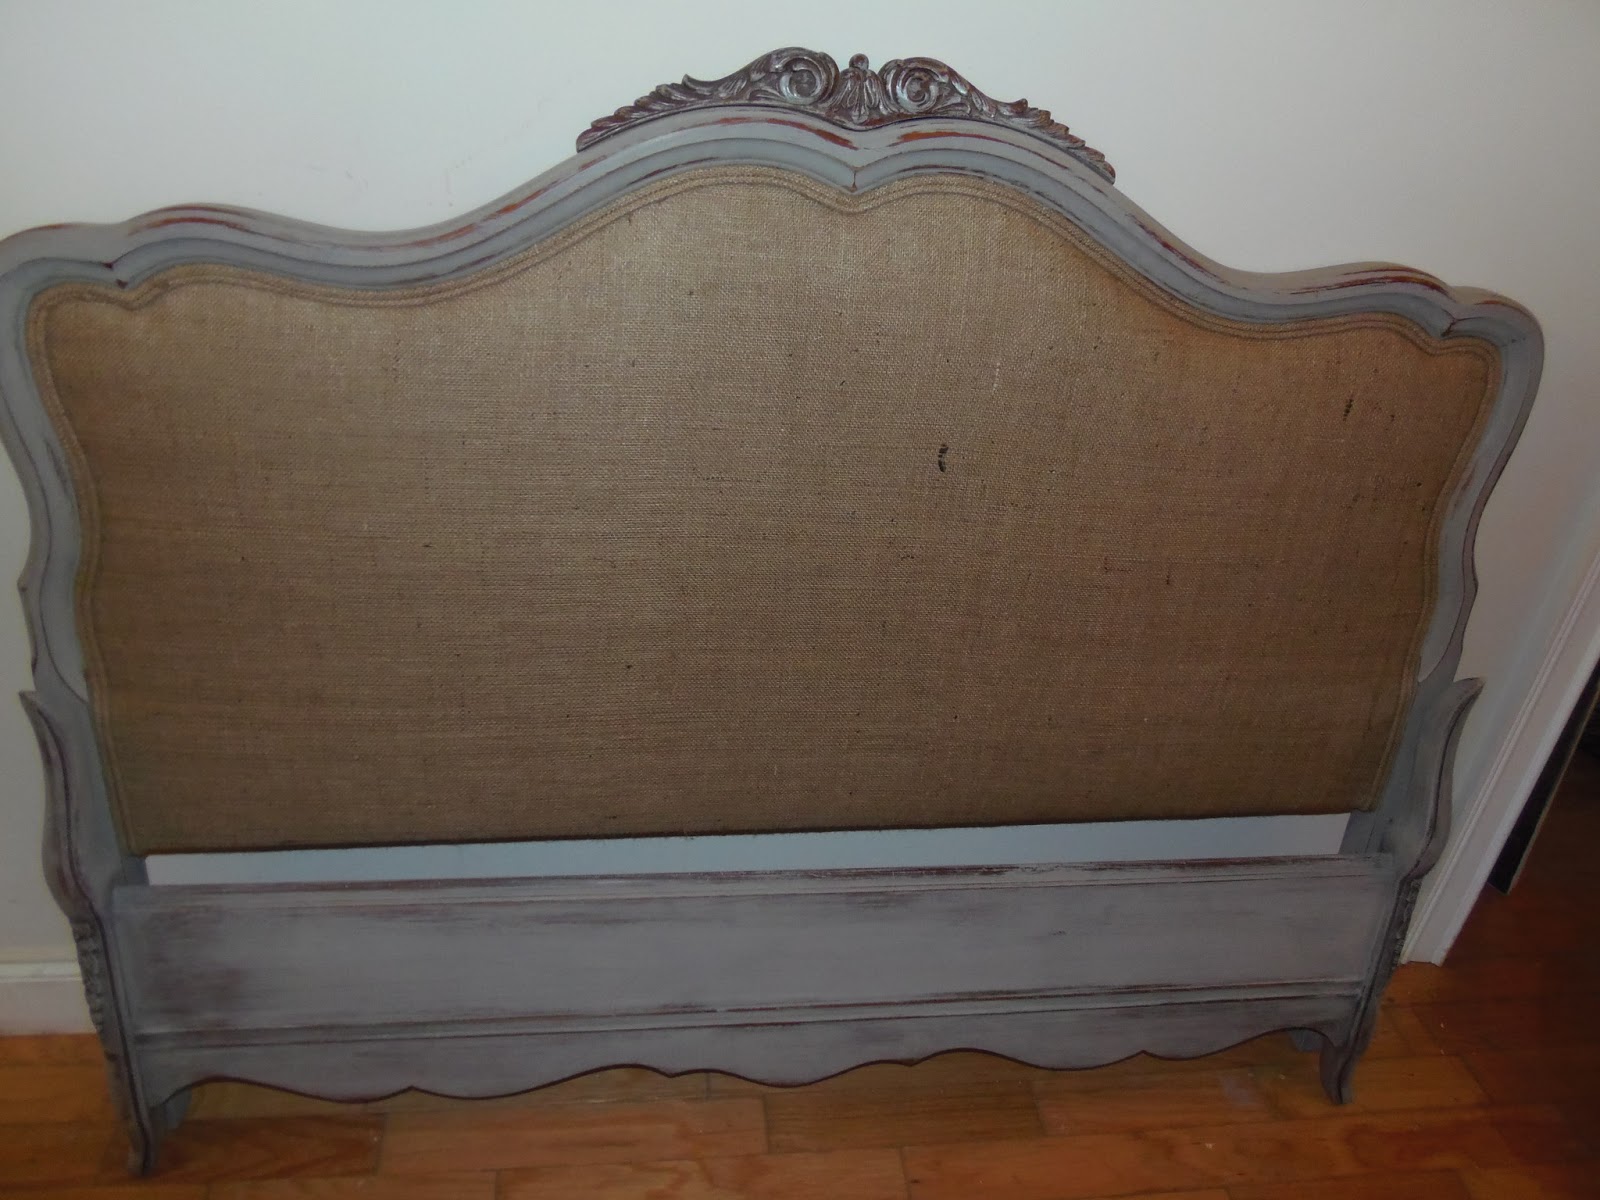
So I mixed a potion of Annie Sloan's Coco and Old Ochre and finished it with clear wax. Weaving jute webbing for the deconstructed back wasn't difficult.  And once in place, I stapled it down tight and secure.


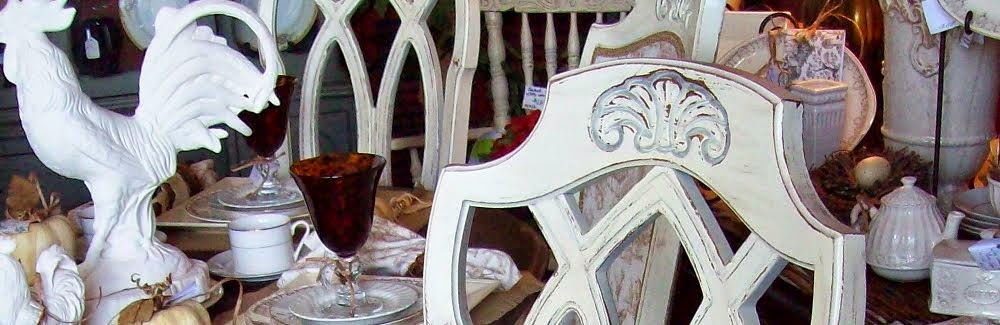
Now here's my seat fabric.  I loved it, even though I don't speak a lick of French.  Love enough to Google and translate those French words into my native English...ahhh...The Windmills of Provence. What?  Are you sure?   I was certain it said "The Roosters of Provence". Think I'll invest in Rosetta Stone soon!


Now we just need the finishing touches.Simple enough right? After all, just how hard could it possibly be to find a pretty flat gimp to cover up all of these delightful staples?  Apparently, harder than I figured.  I searched all of my favorite fabric haunts, only to come up empty.  What's that old saying about necessity being the mother of all inventions?

So I had a chat with Mama Necessity, who told me to cut these strips out of the webbing and use it for flat gimp.  Ok, I gave it a try and wow ...problem solved!


So far, so good. Now what about those arm rests?  The initial thought was to continue to use the webbing here too but it didn't seem to fit the bill.  So I scrapped that idea and went for the seat fabric on these areas instead.


..and here she is, my Roosters (whoops) I mean Windmills of Provence Deconstructed Chair.
P.S. I can't bring myself to tell the Roosters it's not about them...
they're a proud sort you know!


 XOXO
Arlene


Friday, June 28, 2013

Frenchy Cutie Burlap Beauty!

Have you ever finished a project and found yourself totally loving how it turned out?  So much so that you REALLY want to keep it...
EVEN if it means changing 
EVERYTHING else in the room?  

Well, take a peek at the pic below.  Here she was, living an extraordinarily plain life, with those wonderfully curvy curves and carved accents hidden in a sea of one dimensional brown.

Before


So, I gave her a makeover.

 Padding the interior with 1" batting before the burlap "top coat" really softened the overall appearance, and  I thought that using coordinating burlap double welt (cord) gave a polished finish to all those curves. 

A coat of French Linen, a light distressing.  And all of those glorious nooks and crannies came to life! A new bed was born...and I was smitten.


Now to all of my friends out there who've ever fallen in love with a transformed piece...I think that you'd be proud of me 'cause I fought to keep this one.
I gave hubby my all-time best "I really want to keep this one" speech. 
He, in turn, gave his infamous "PITS" (Purchased Intentionally To Sell) rebuttal.
In our house, the "PITS" rational most times wins.
(Promise to tell you more about my PITS in a later post...)
 
I grabbed a sales tag, said my good-byes, and took my beloved bed to my space at Treasure Hunt Antique Mall...that's chock-a-block full with well...burlap stuff.


And some other stuff that looks really great with burlap stuff. 
It's my addiction.

See? 


 Told ya.
I don't go around using the word "addiction" all willy-nilly now, do I?  


.  Think she's a BB (Burlap Beauty)? I'd love to hear your thoughts!
Headed over to Miss Mustard Seed's 
Furniture Feature Friday
Make it a GREAT weekend guys

xoxo
Arlene